Lighting Up the Esthetic Zone
Note: The Hahn Tapered Implant System is now known as the Glidewell HT Implant System
Digital treatment planning (DTP) with the team at Glidewell Laboratories allows me to ensure that implants are precisely placed, with full consideration given to the desired esthetics of the final restorations. But there was another unique element involved in planning the case described below: While it was esthetics that caused the patient to seek treatment, his career as a glass blower required his implants to be placed in functionally ideal positions. The potential complexity of these multiple requirements solidifed my decision to approach his case with implant positioning predetermined via DTP.
CASE REPORT
This patient came to me with four missing anterior teeth in positions #7–10. He had been missing these teeth for some time and was wearing a temporary denture to address the cosmetic issue this created. When he came to my practice, he was in a financial position to solve the problem permanently with implant restorations. Based upon the anterior space available and the fact that the patient’s surrounding tissue was in good health, I chose to move forward with Hahn™ Tapered Implants and BruxZir® Esthetic restorations.
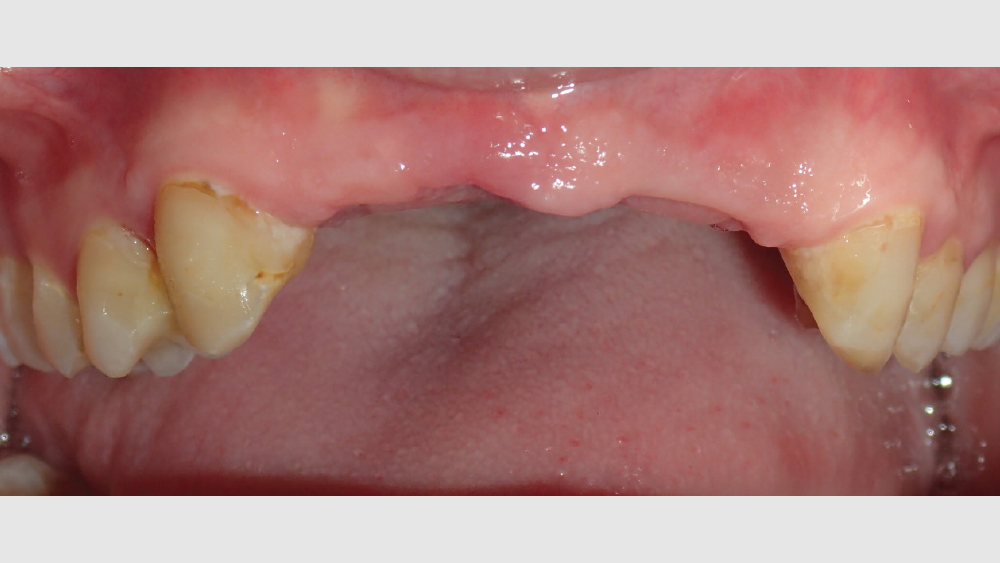
Figure 1: An intraoral view shows the available restorative space, which appeared ideal for four implants. I chose to use DTP with guided surgery to ensure the implants were placed in optimal position for a functional and esthetic result.
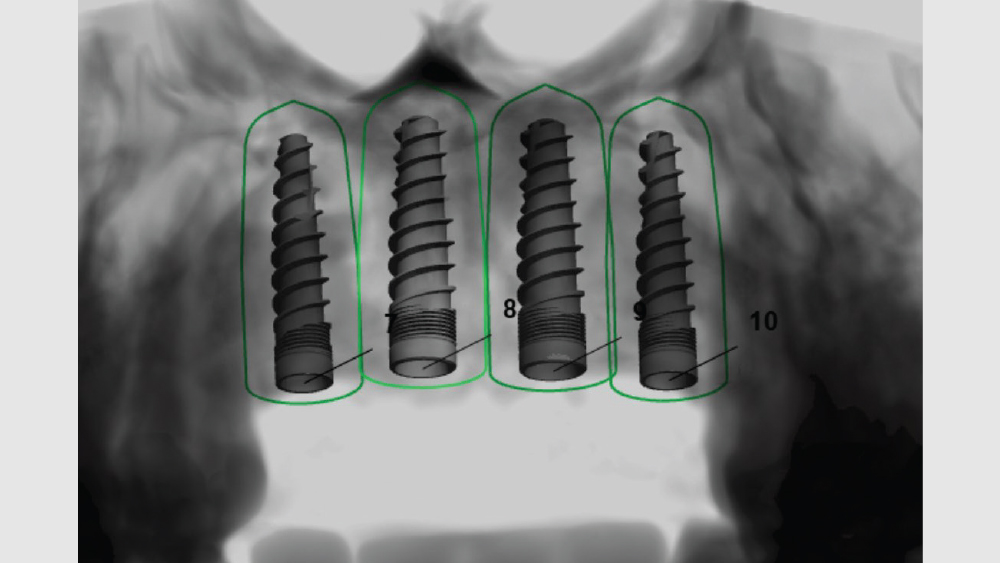
Figure 2: A CBCT scan was performed on the patient, and the resulting DICOM files were sent along with an intraoral scan to the DTP team at Glidewell for use in the creation of a surgical plan and an accompanying surgical guide.
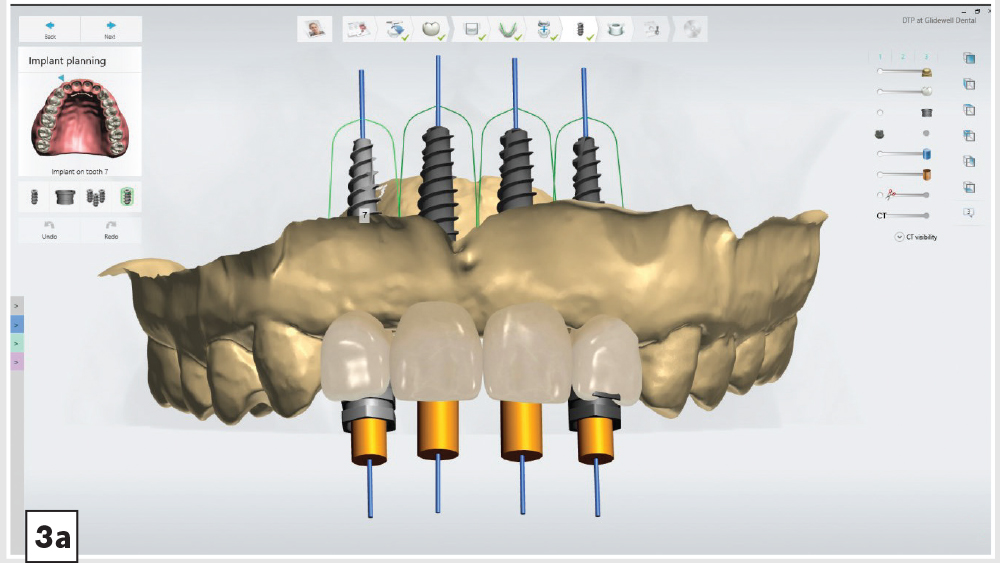
Figures 3a–3c: The DTP team used the patient’s information, digital impression and CBCT scans to create a proposal for treatment. Seeing where the teeth would reside within this plan provided me with the assurance needed to move forward with implant placement.
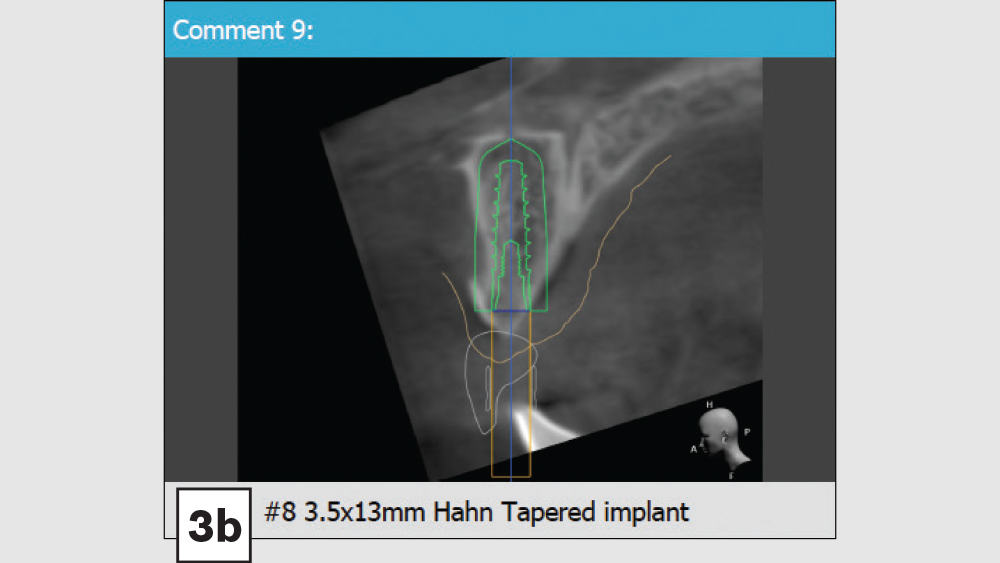
Figures 3a–3c: The DTP team used the patient’s information, digital impression and CBCT scans to create a proposal for treatment. Seeing where the teeth would reside within this plan provided me with the assurance needed to move forward with implant placement.
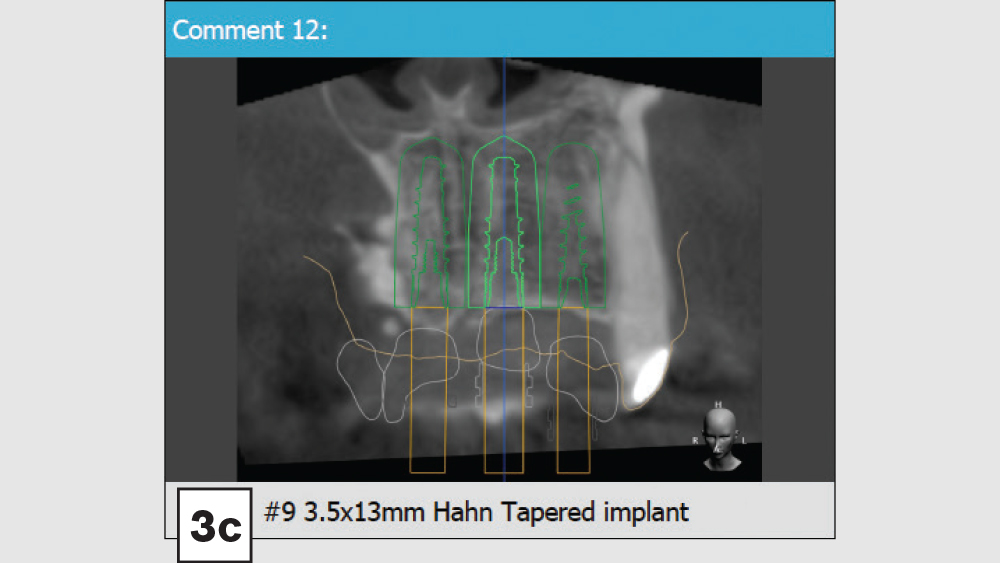
Figures 3a–3c: The DTP team used the patient’s information, digital impression and CBCT scans to create a proposal for treatment. Seeing where the teeth would reside within this plan provided me with the assurance needed to move forward with implant placement.
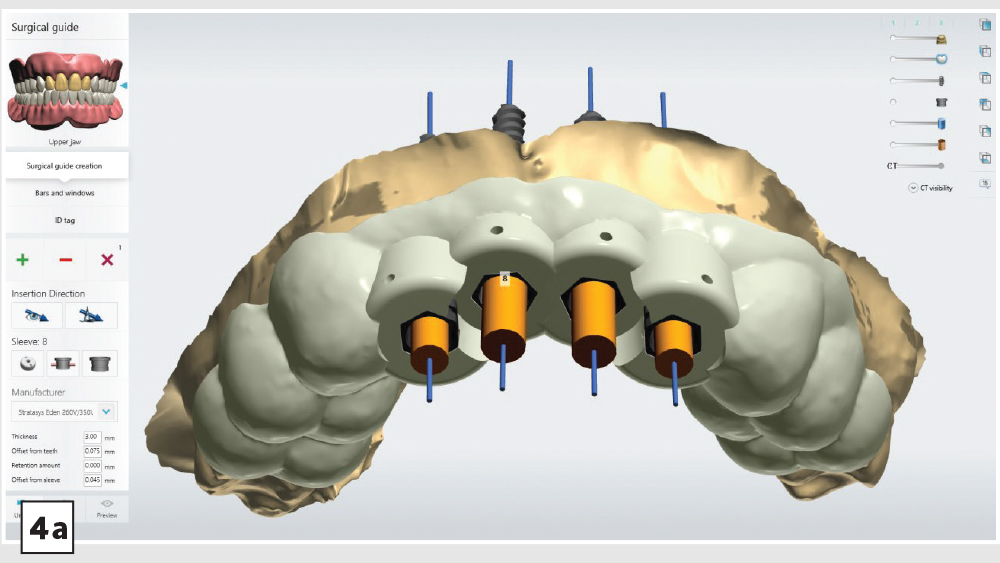
Figures 4a, 4b: The surgical guide was fabricated by Glidewell to support each step of the procedure, with titanium sleeves color-coded to match the corresponding instruments from the Hahn Guided Surgical Kit (Glidewell Direct; Irvine, Calif.).
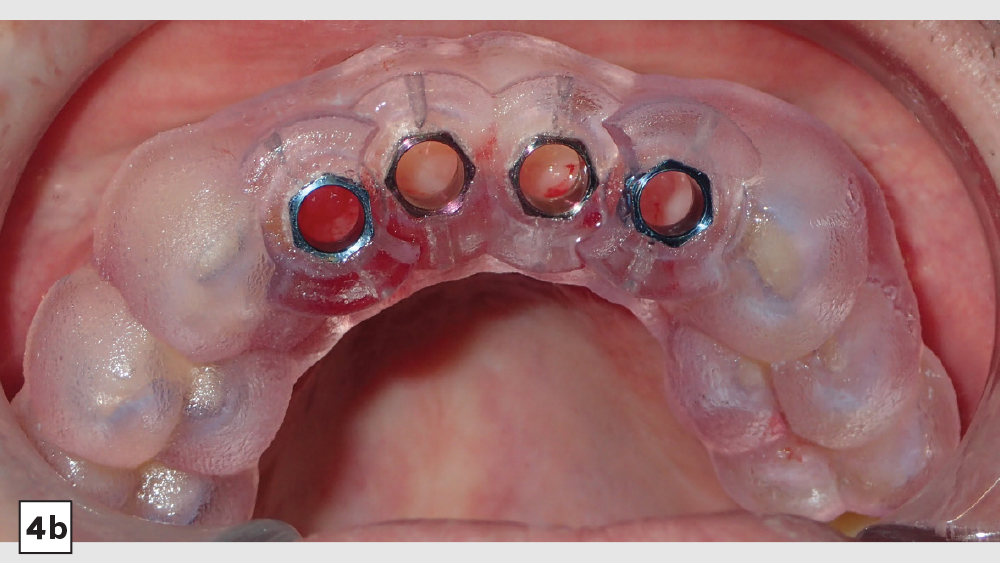
Figures 4a, 4b: The surgical guide was fabricated by Glidewell to support each step of the procedure, with titanium sleeves color-coded to match the corresponding instruments from the Hahn Guided Surgical Kit (Glidewell Direct; Irvine, Calif.).
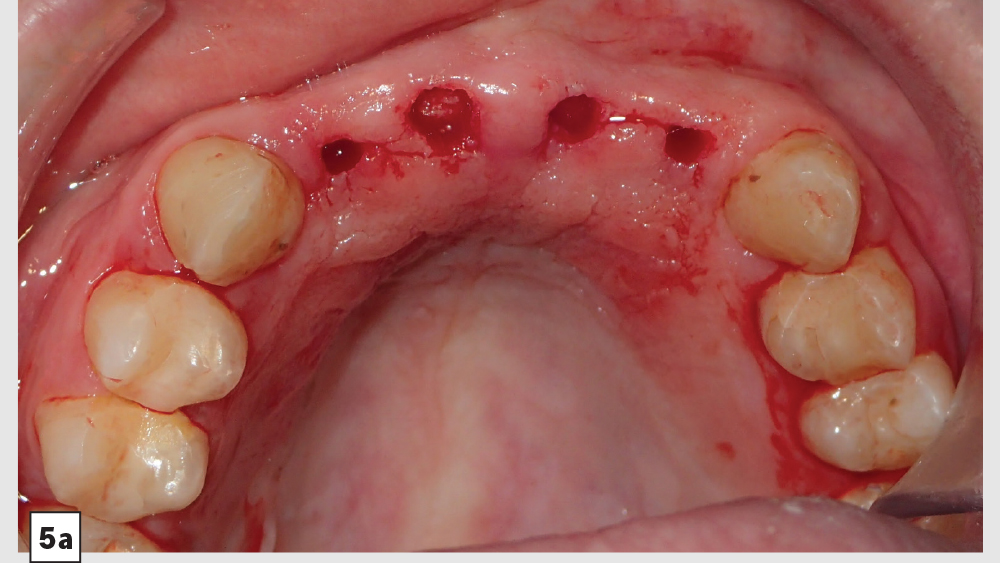
Figures 5a, 5b: The initial tissue punch, drilling steps and implant placements were all performed entirely through the surgical guide, with no special inserts required.
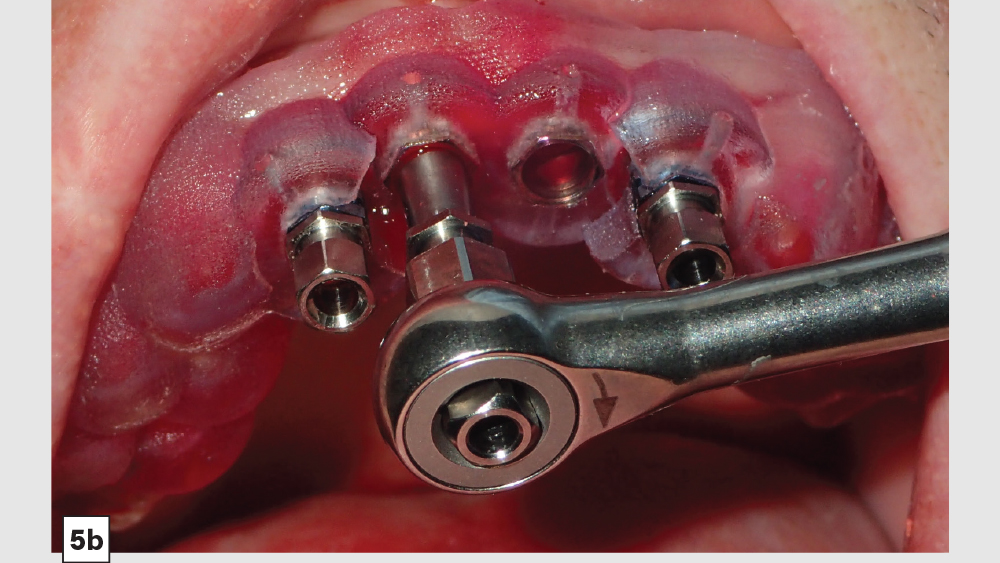
Figures 5a, 5b: The initial tissue punch, drilling steps and implant placements were all performed entirely through the surgical guide, with no special inserts required.
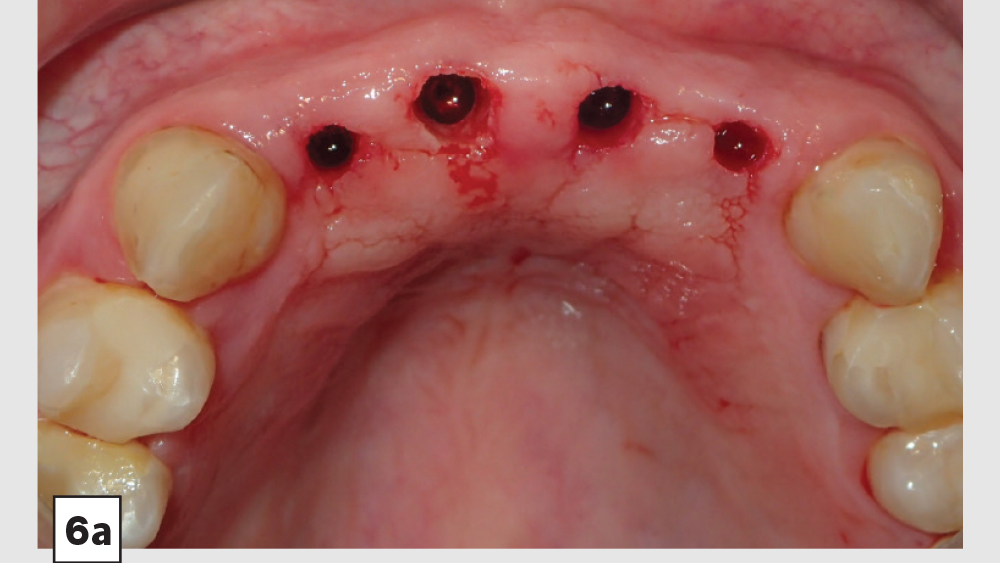
Figures 6a, 6b: The surgical guide was removed after implant placement was completed. The use of the guide helped me ensure that each of the implants was aligned in the precise position required to obtain the optimal restorative outcome.
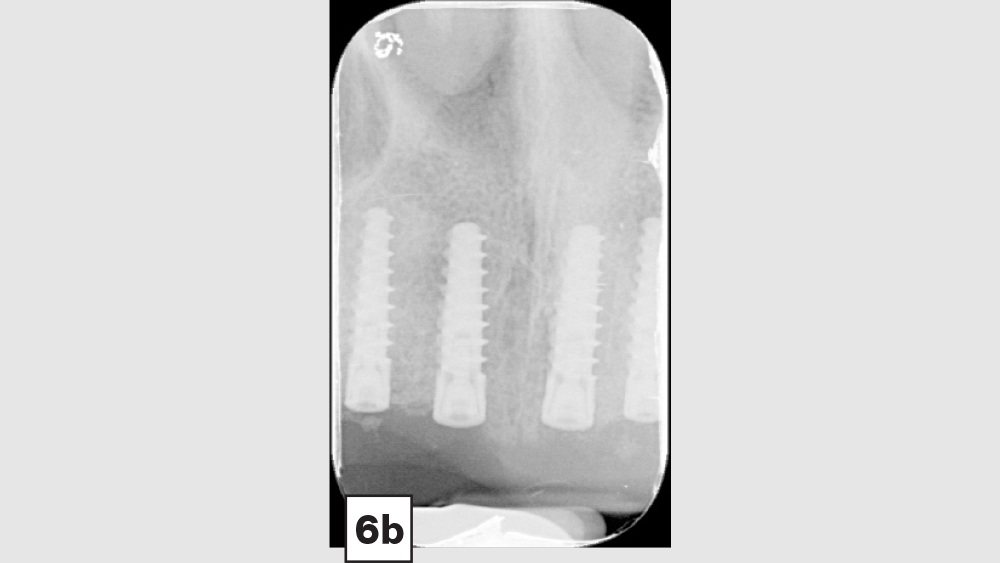
Figures 6a, 6b: The surgical guide was removed after implant placement was completed. The use of the guide helped me ensure that each of the implants was aligned in the precise position required to obtain the optimal restorative outcome.
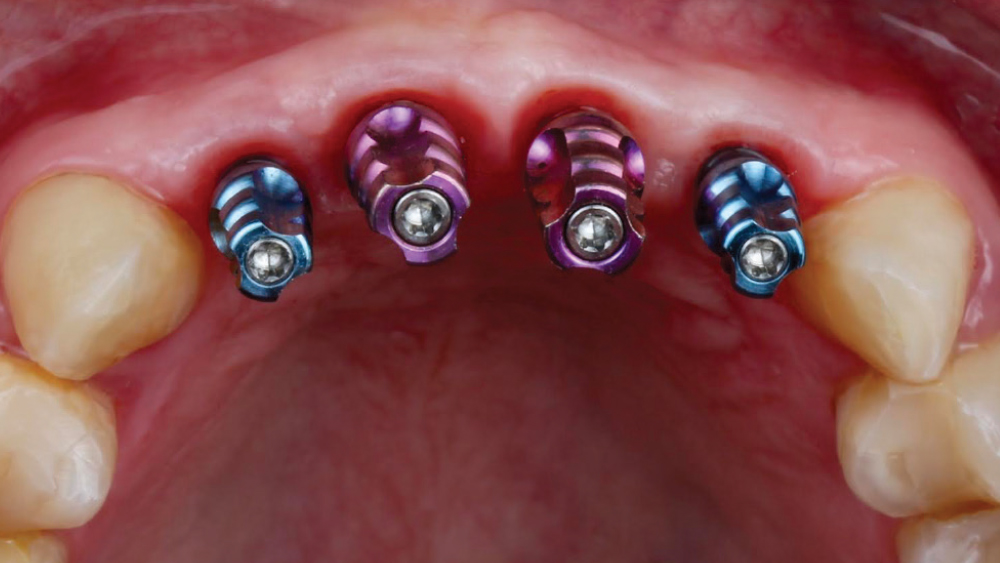
Figure 7: After two months of healing, I wanted to continue to shape the soft tissue by using BioTemps® Provisionals. I took an implant-level impression using the Hahn Tapered Implant closed-tray impression copings. These copings are color-coded, making it clear which copings are 3.0 mm (blue) and which are 3.5 mm (purple).
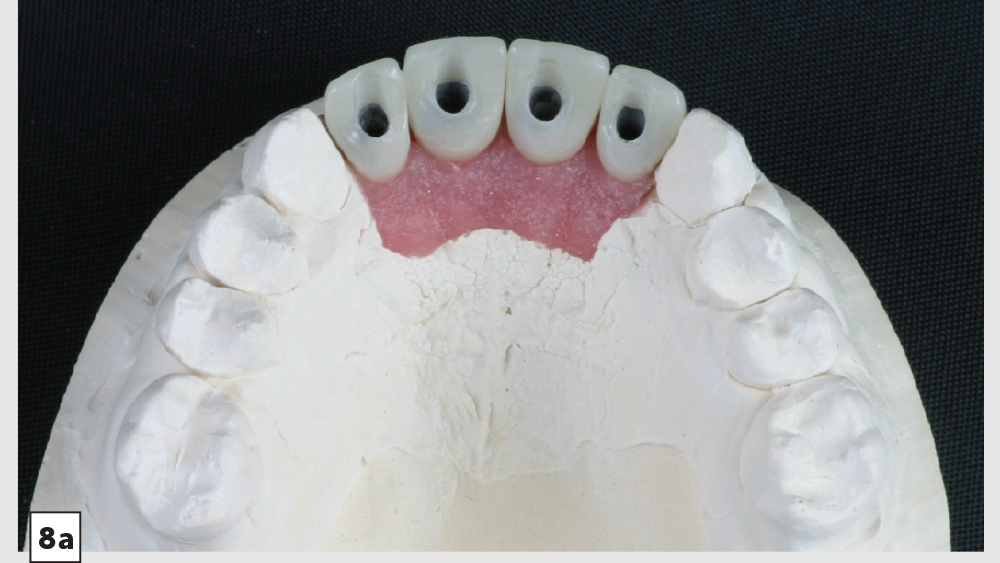
Figures 8a, 8b: By using screw-retained BioTemps provisional crowns, I was able to shape the tissue to allow for natural emergence of the final restorations. The temporary screw-retained restorations were easily delivered and retrieved.
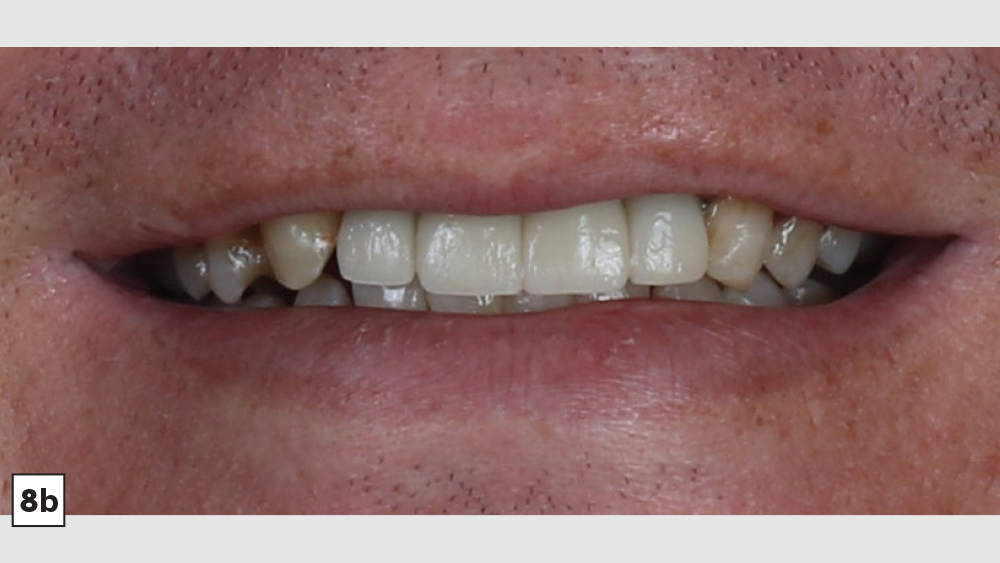
Figures 8a, 8b: By using screw-retained BioTemps provisional crowns, I was able to shape the tissue to allow for natural emergence of the final restorations. The temporary screw-retained restorations were easily delivered and retrieved.
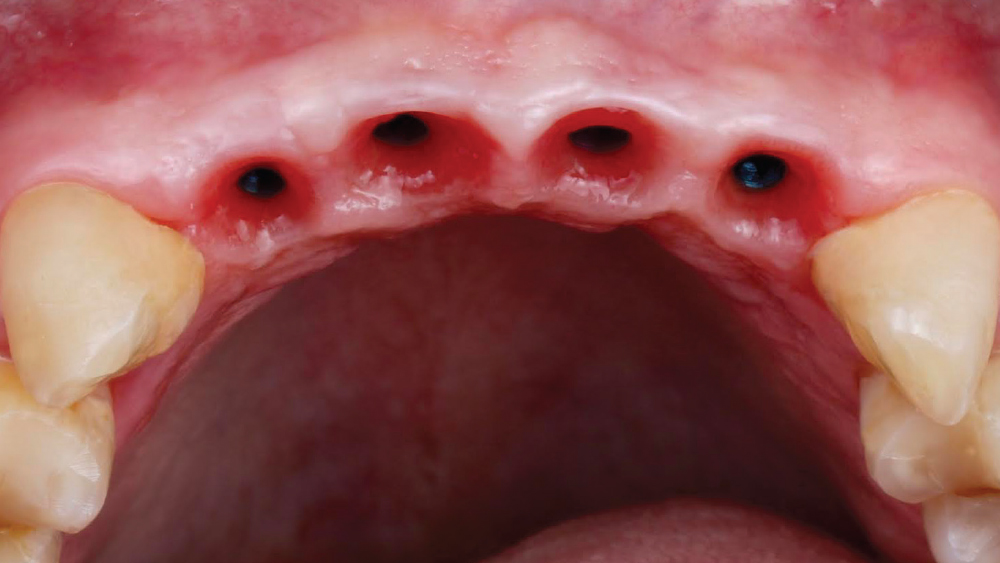
Figure 9: Upon removal of the BioTemps, which were worn for six weeks, it appeared that the tissue was stable and ready for the final restorations.
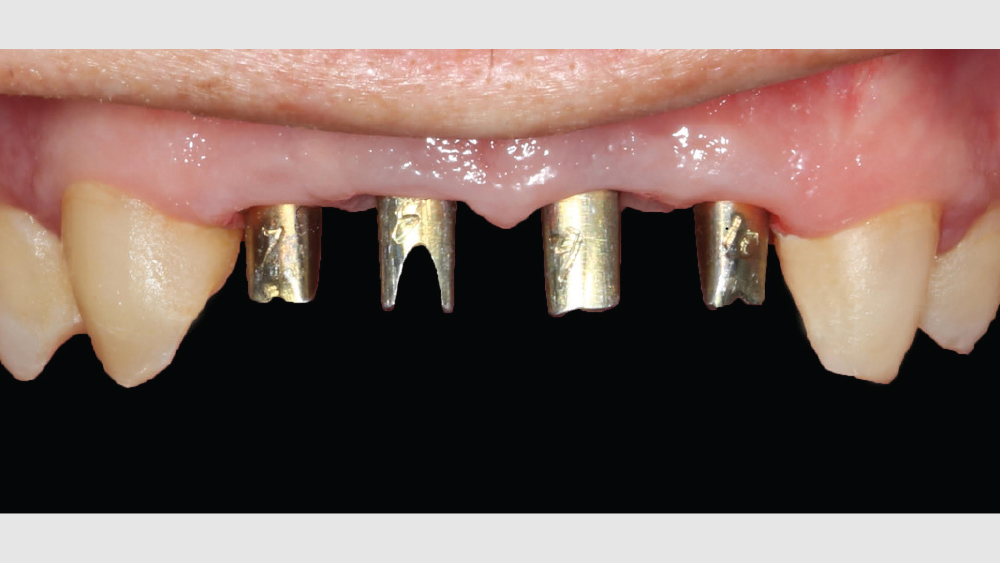
Figure 10: Glidewell Laboratories fabricated the Inclusive® anodized titanium custom abutments. The abutments were produced with a gold tone to minimize metal show-through in the esthetic zone.
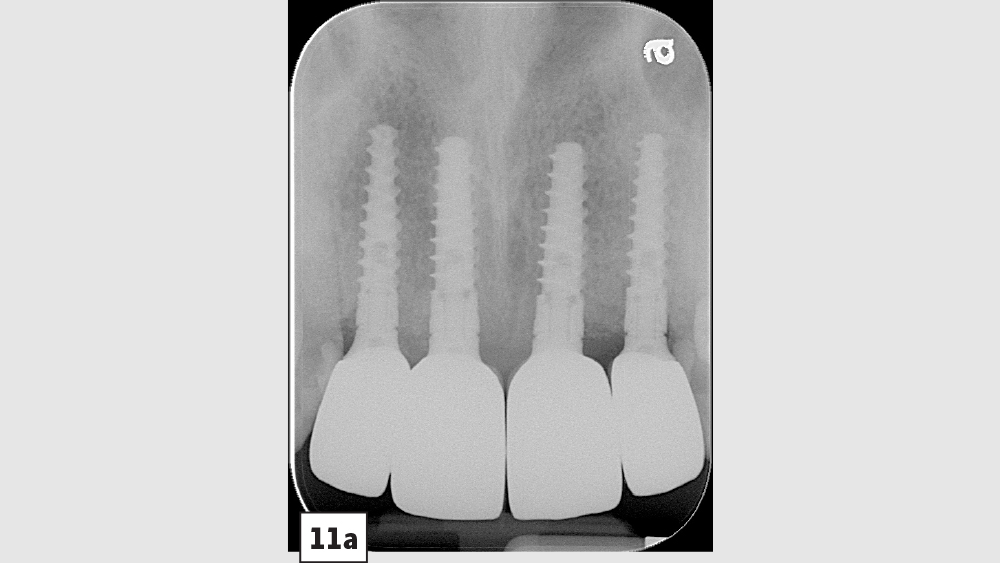
Figures 11a, 11b: The BruxZir® Esthetic crowns were cemented over the custom abutments, and an X-ray was taken to confirm a precise fit.
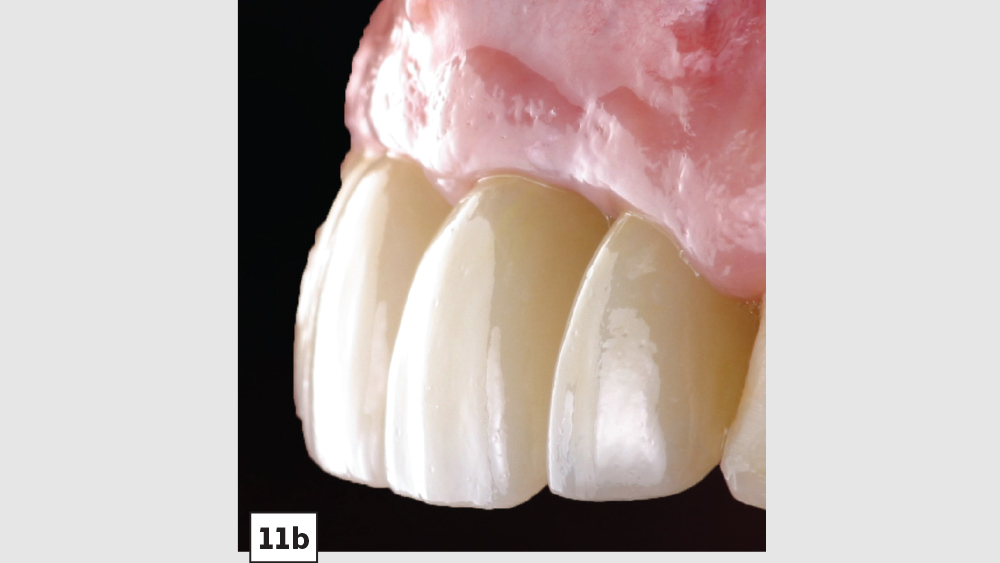
Figures 11a, 11b: The BruxZir® Esthetic crowns were cemented over the custom abutments, and an X-ray was taken to confirm a precise fit.
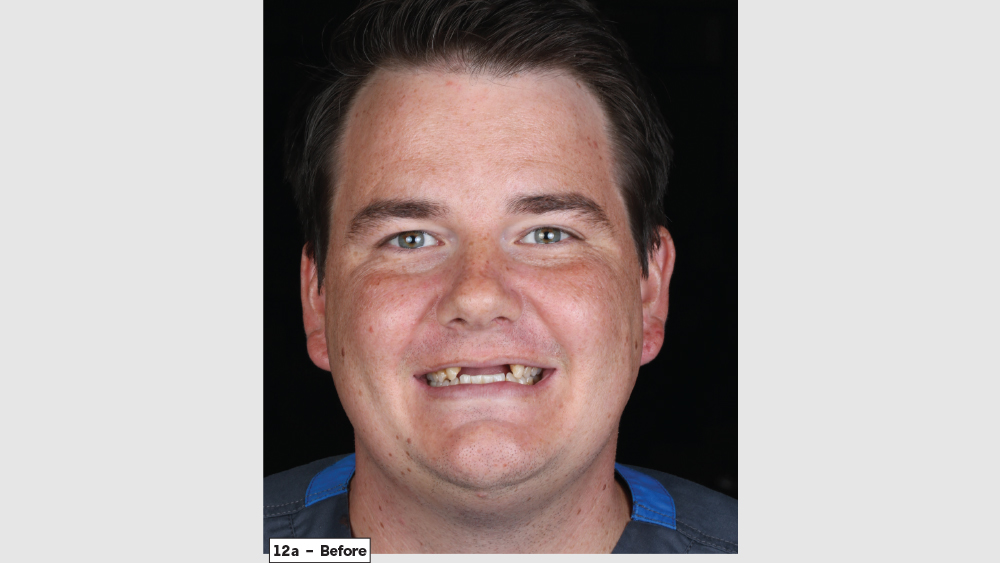
Figures 12a, 12b: The patient was so pleased with the outcome and the appearance of his implant restorations that, a short time after his treatment was concluded, he returned to have the surrounding teeth restored with BruxZir Esthetic as well.
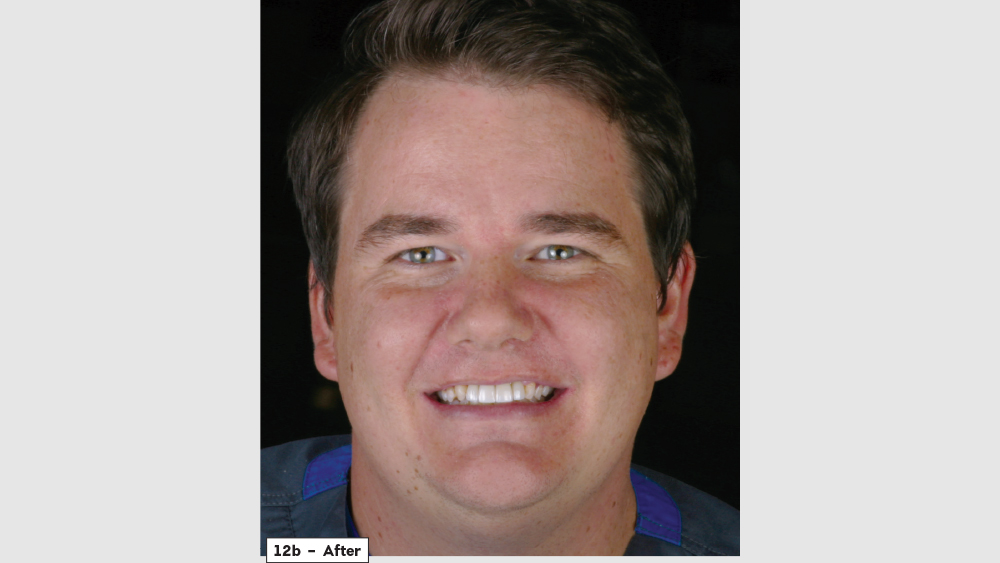
Figures 12a, 12b: The patient was so pleased with the outcome and the appearance of his implant restorations that, a short time after his treatment was concluded, he returned to have the surrounding teeth restored with BruxZir Esthetic as well.
THE CASE CONTINUES ...
There’s nothing more rewarding than when patients return to your office for additional dentistry because they were so thrilled with the results of the previous procedure you performed for them. This particular patient followed through with the additional treatment I had previously recommended.
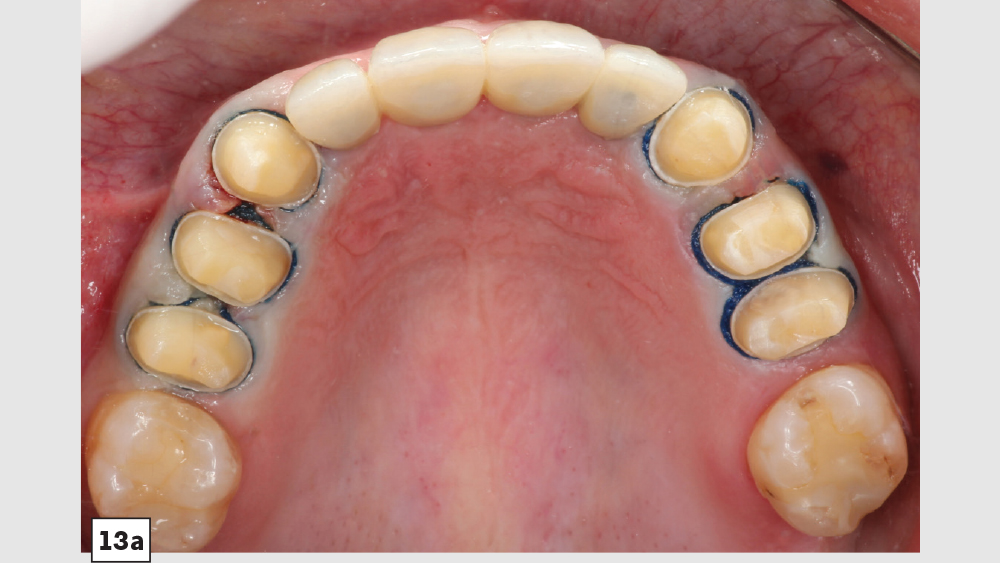
Figures 13a, 13b: Teeth #4–6 and #11–13 were prepared for delivery of the remaining BruxZir restorations.
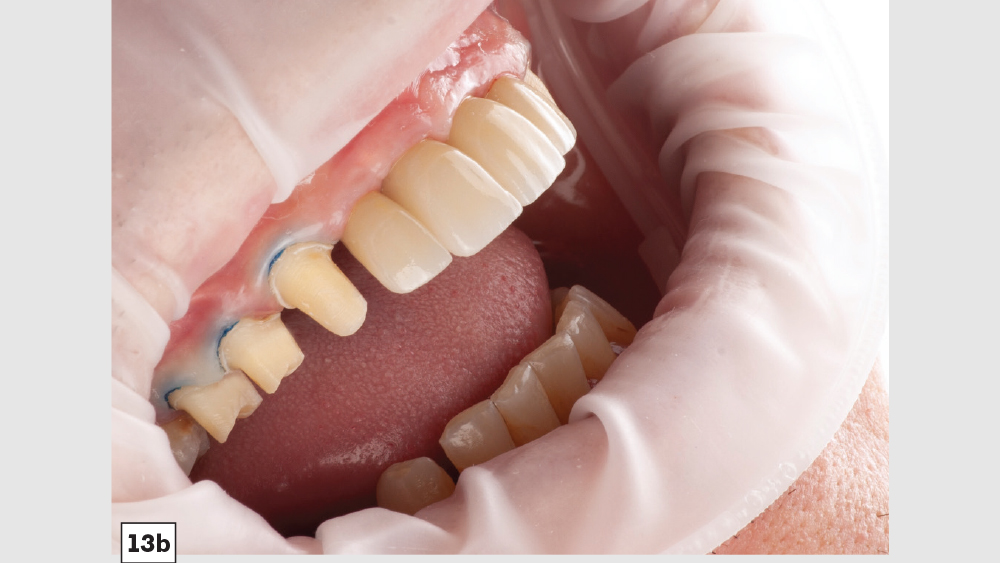
Figures 13a, 13b: Teeth #4–6 and #11–13 were prepared for delivery of the remaining BruxZir restorations.
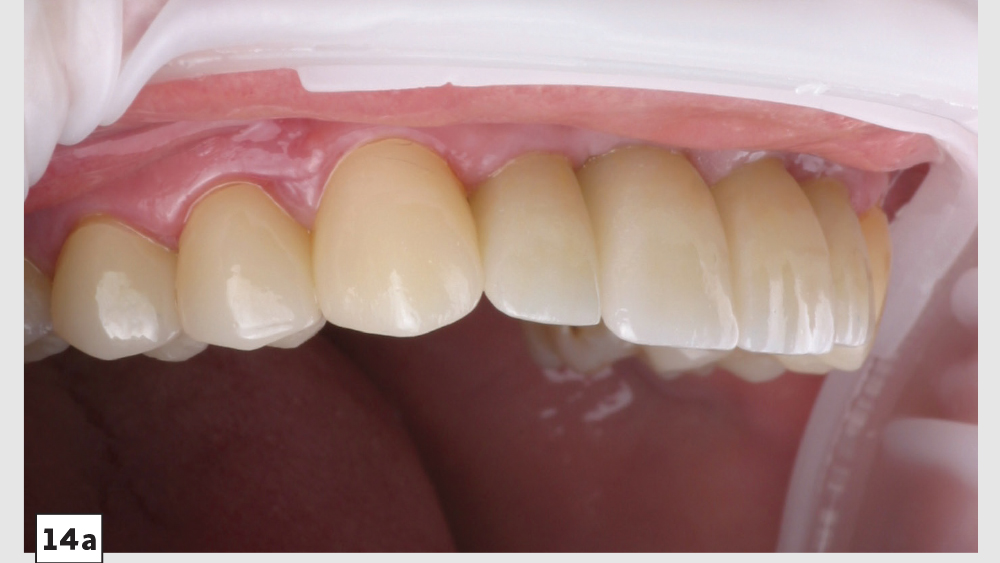
Figures 14a–14d: Delivery of the surrounding BruxZir Esthetic restorations went smoothly and left the patient with a brilliant and balanced smile that made a strong positive impact on his overall appearance, just as he had hoped.
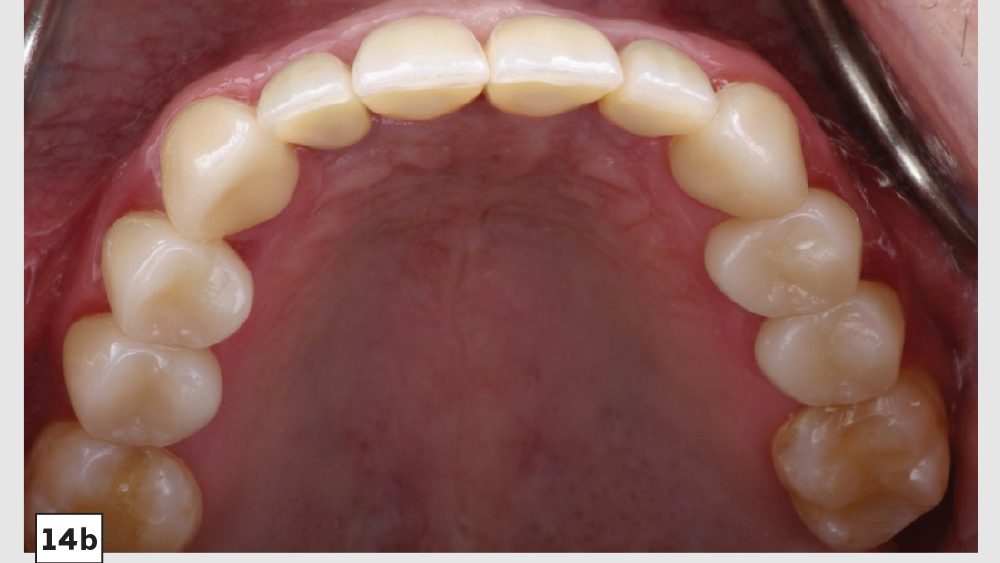
Figures 14a–14d: Delivery of the surrounding BruxZir Esthetic restorations went smoothly and left the patient with a brilliant and balanced smile that made a strong positive impact on his overall appearance, just as he had hoped.
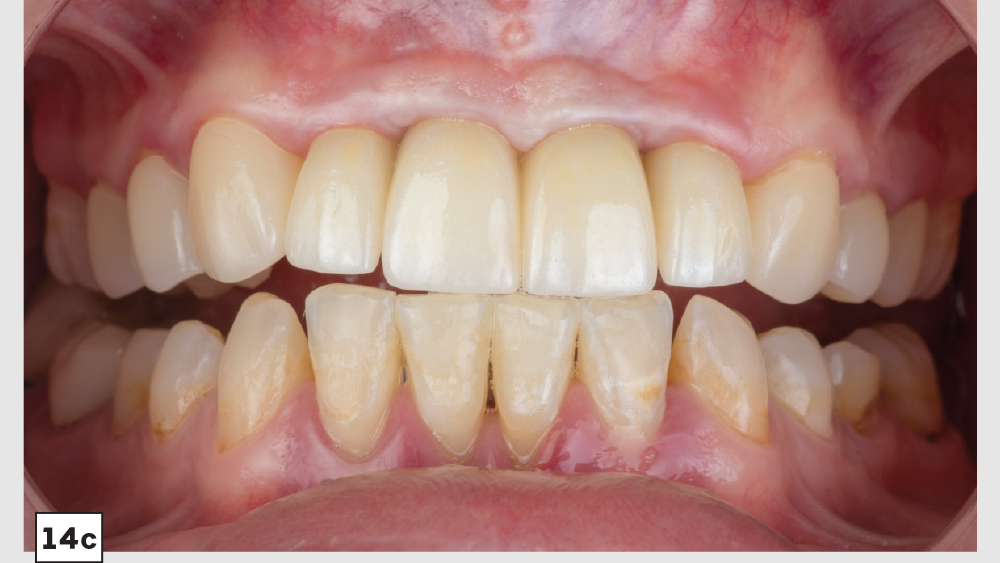
Figures 14a–14d: Delivery of the surrounding BruxZir Esthetic restorations went smoothly and left the patient with a brilliant and balanced smile that made a strong positive impact on his overall appearance, just as he had hoped.
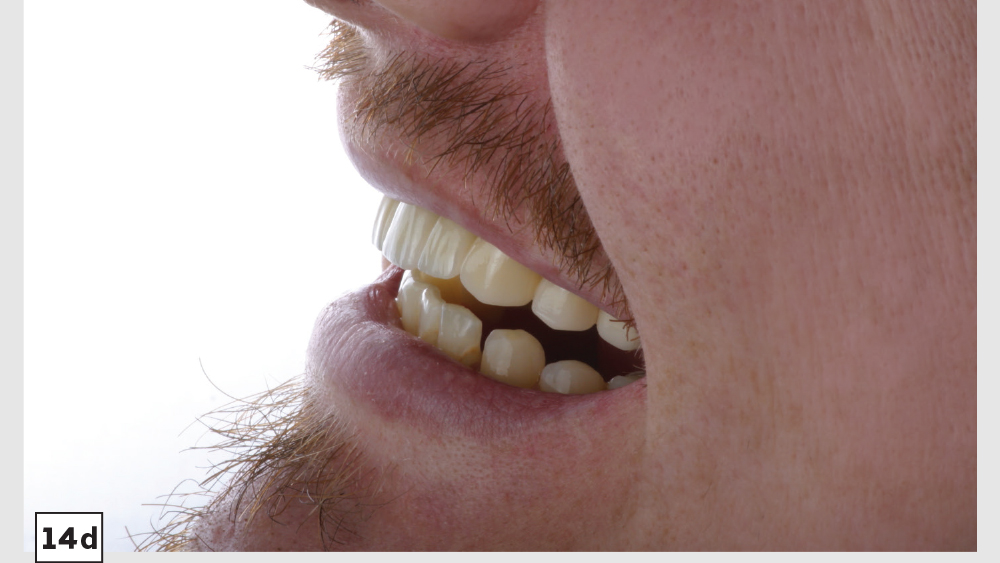
Figures 14a–14d: Delivery of the surrounding BruxZir Esthetic restorations went smoothly and left the patient with a brilliant and balanced smile that made a strong positive impact on his overall appearance, just as he had hoped.
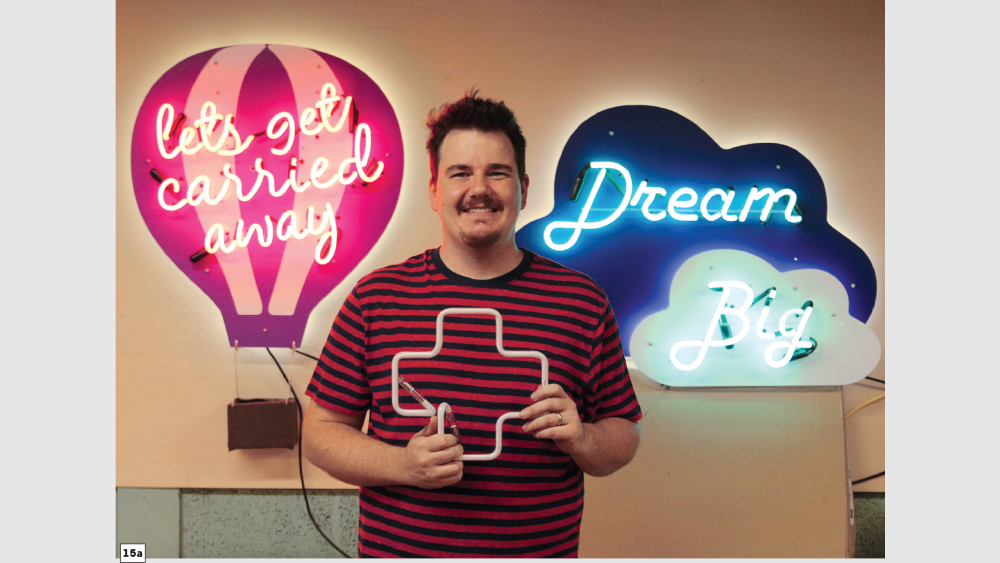
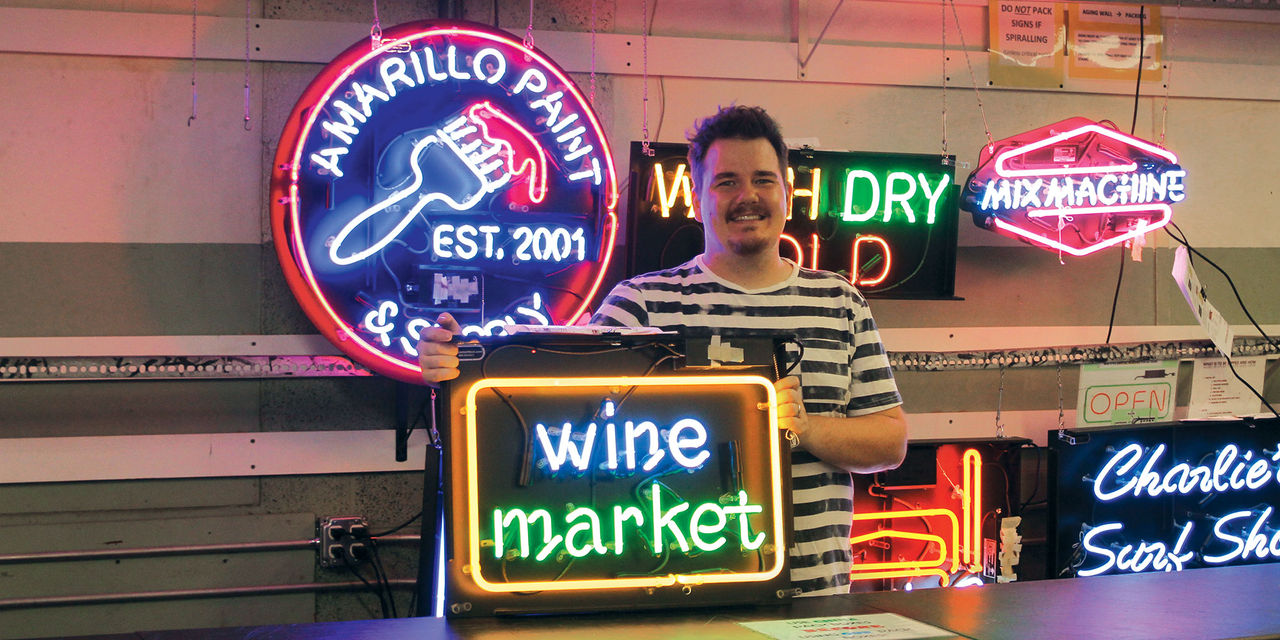
Figures 15a–15c: The patient, who works as a glassblower in his own neon sign shop, has seen his life change in many positive ways as a result of his restorations. Trying to blow glass with a partial denture is no longer a struggle he faces
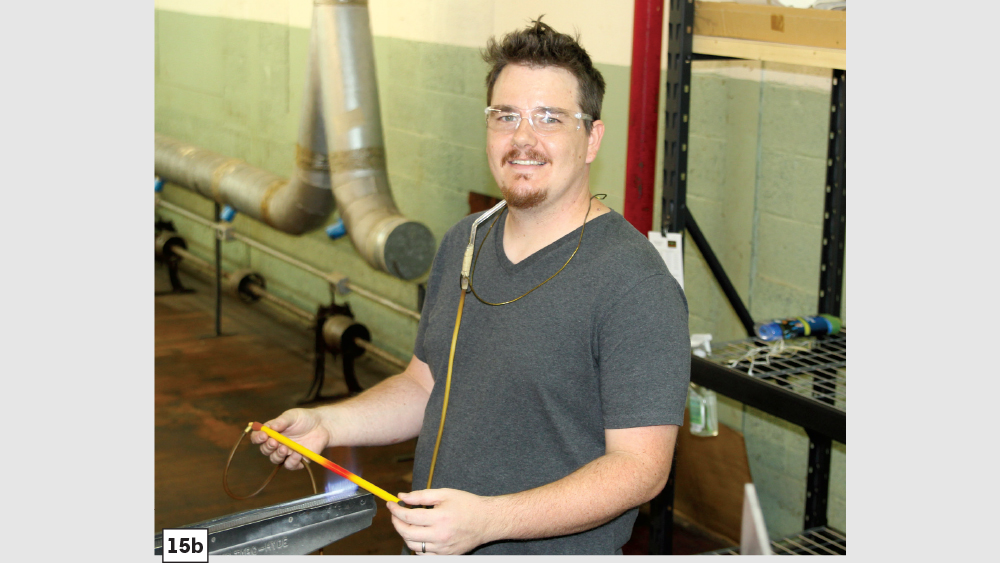
Figures 15a–15c: The patient, who works as a glassblower in his own neon sign shop, has seen his life change in many positive ways as a result of his restorations. Trying to blow glass with a partial denture is no longer a struggle he faces
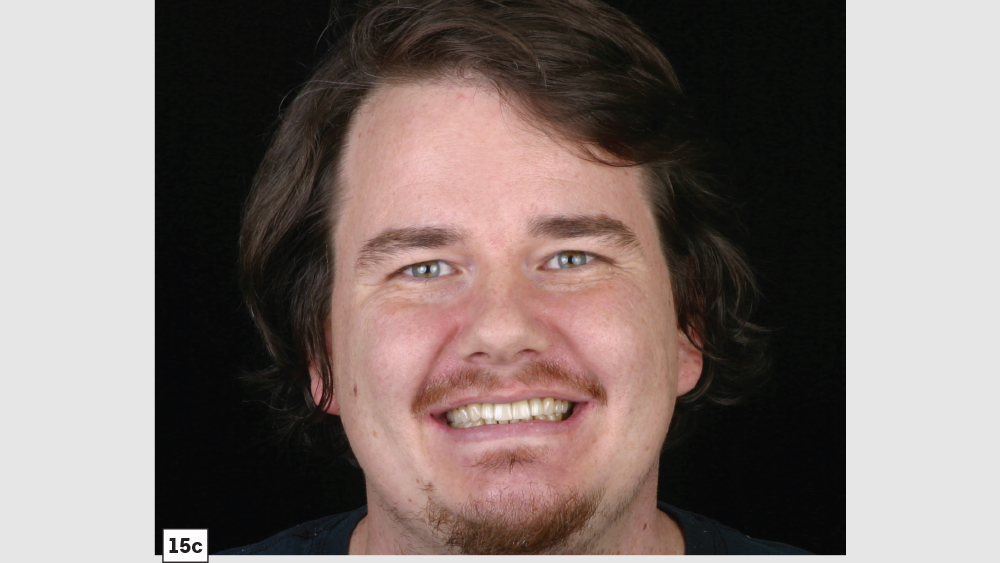
Figures 15a–15c: The patient, who works as a glassblower in his own neon sign shop, has seen his life change in many positive ways as a result of his restorations. Trying to blow glass with a partial denture is no longer a struggle he faces

